Finally a successful dog!
Hi all!
It’s been awhile since I’ve posted for my learning project, but don’t worry this post won’t disappoint! I was busy doing some research on how to make sure that my balloon won’t pop, because I have had a lot of times where it would pop mid twist, and just different techniques to make sure that the twists and shapes will hold.
I’m starting to get used to the fact of twisting and working with these balloons, they’re not as sensitive as I originally thought they were! I also found a few techniques/tips to help make sure that popping won’t occur. The first thing that they suggest is to stretch out your balloon before you even start blowing it up, this will allow it to have more flexibility and it makes it easier to get air inside and twist/move around the balloon and air inside so it doesn’t pop. What you have to do is NOT blow up the balloon the whole way, leave about a hand grasp worth of room at the end of the balloon. This will allow enough room for all the air to move back into it and the balloon will expand while you’re twisting instead of creating more pressure and impact! Something else that I’ve noticed I improved on, which is very minor, is actually tying the balloon shut! When I first started making and working with these balloon animals, I had the hardest time trying to tie the balloon. It was always too tight and I didn’t want to let out too much air and it just wouldn’t happen for me. After watch the following video, click here, I realized that a main exercise he does is really stretch out the the opening of the balloon which allows it to have more flexibility making it easier to tie. I started doing this technique ever since and I’ve been successful every time.
Using these techniques and tips that I learnt above, I decided that it’s time to final make a completed dog balloon animal! One of the biggest types of twisting and shaping that they use to make the dog is called the Locking Twist. Overall what it is, is you create 3 “bubbles” by just twisting the balloon normally. You will take the second and third bubble and line them up side by side, and then start twisting the two together. Once you twisted the two together you can incorporate the first bubble in the twist as well. Having the double twist on the balloons will allow it to lock in place.
I mainly used the follow site and youtube video to help teach me how to create my balloon dog. These two resources were quite helpful, the website more than the video as the video was too fast for me to keep up to, but I was eventually able to create my balloon dog successfully (after a few tries of course). I guess I kind of used a mixture of both to create my dog, as the website was a little hard to visualize exactly how it was supposed to turn out but was in a lot of detail, and the video gave me my visual but was too fast with it’s explanations.
My first attempt wasn’t successful what so ever as I didn’t blow the balloon up far enough in the first place. I was worried I wasn’t going to leave enough room for the balloon to expand, the result of this was that I only enough room to create the ears, face, neck and first set of legs, but not enough room to make the rest of the dog’s body, legs and tail.

Since I had an unsuccessful attempt, I was determined to make a perfect one. The next few tries, that I didn’t take pictures or documents of, were unsuccessful as they both popped on me while I was twisting. Finally, the fourth attempt I was successful! I finally created my dog!
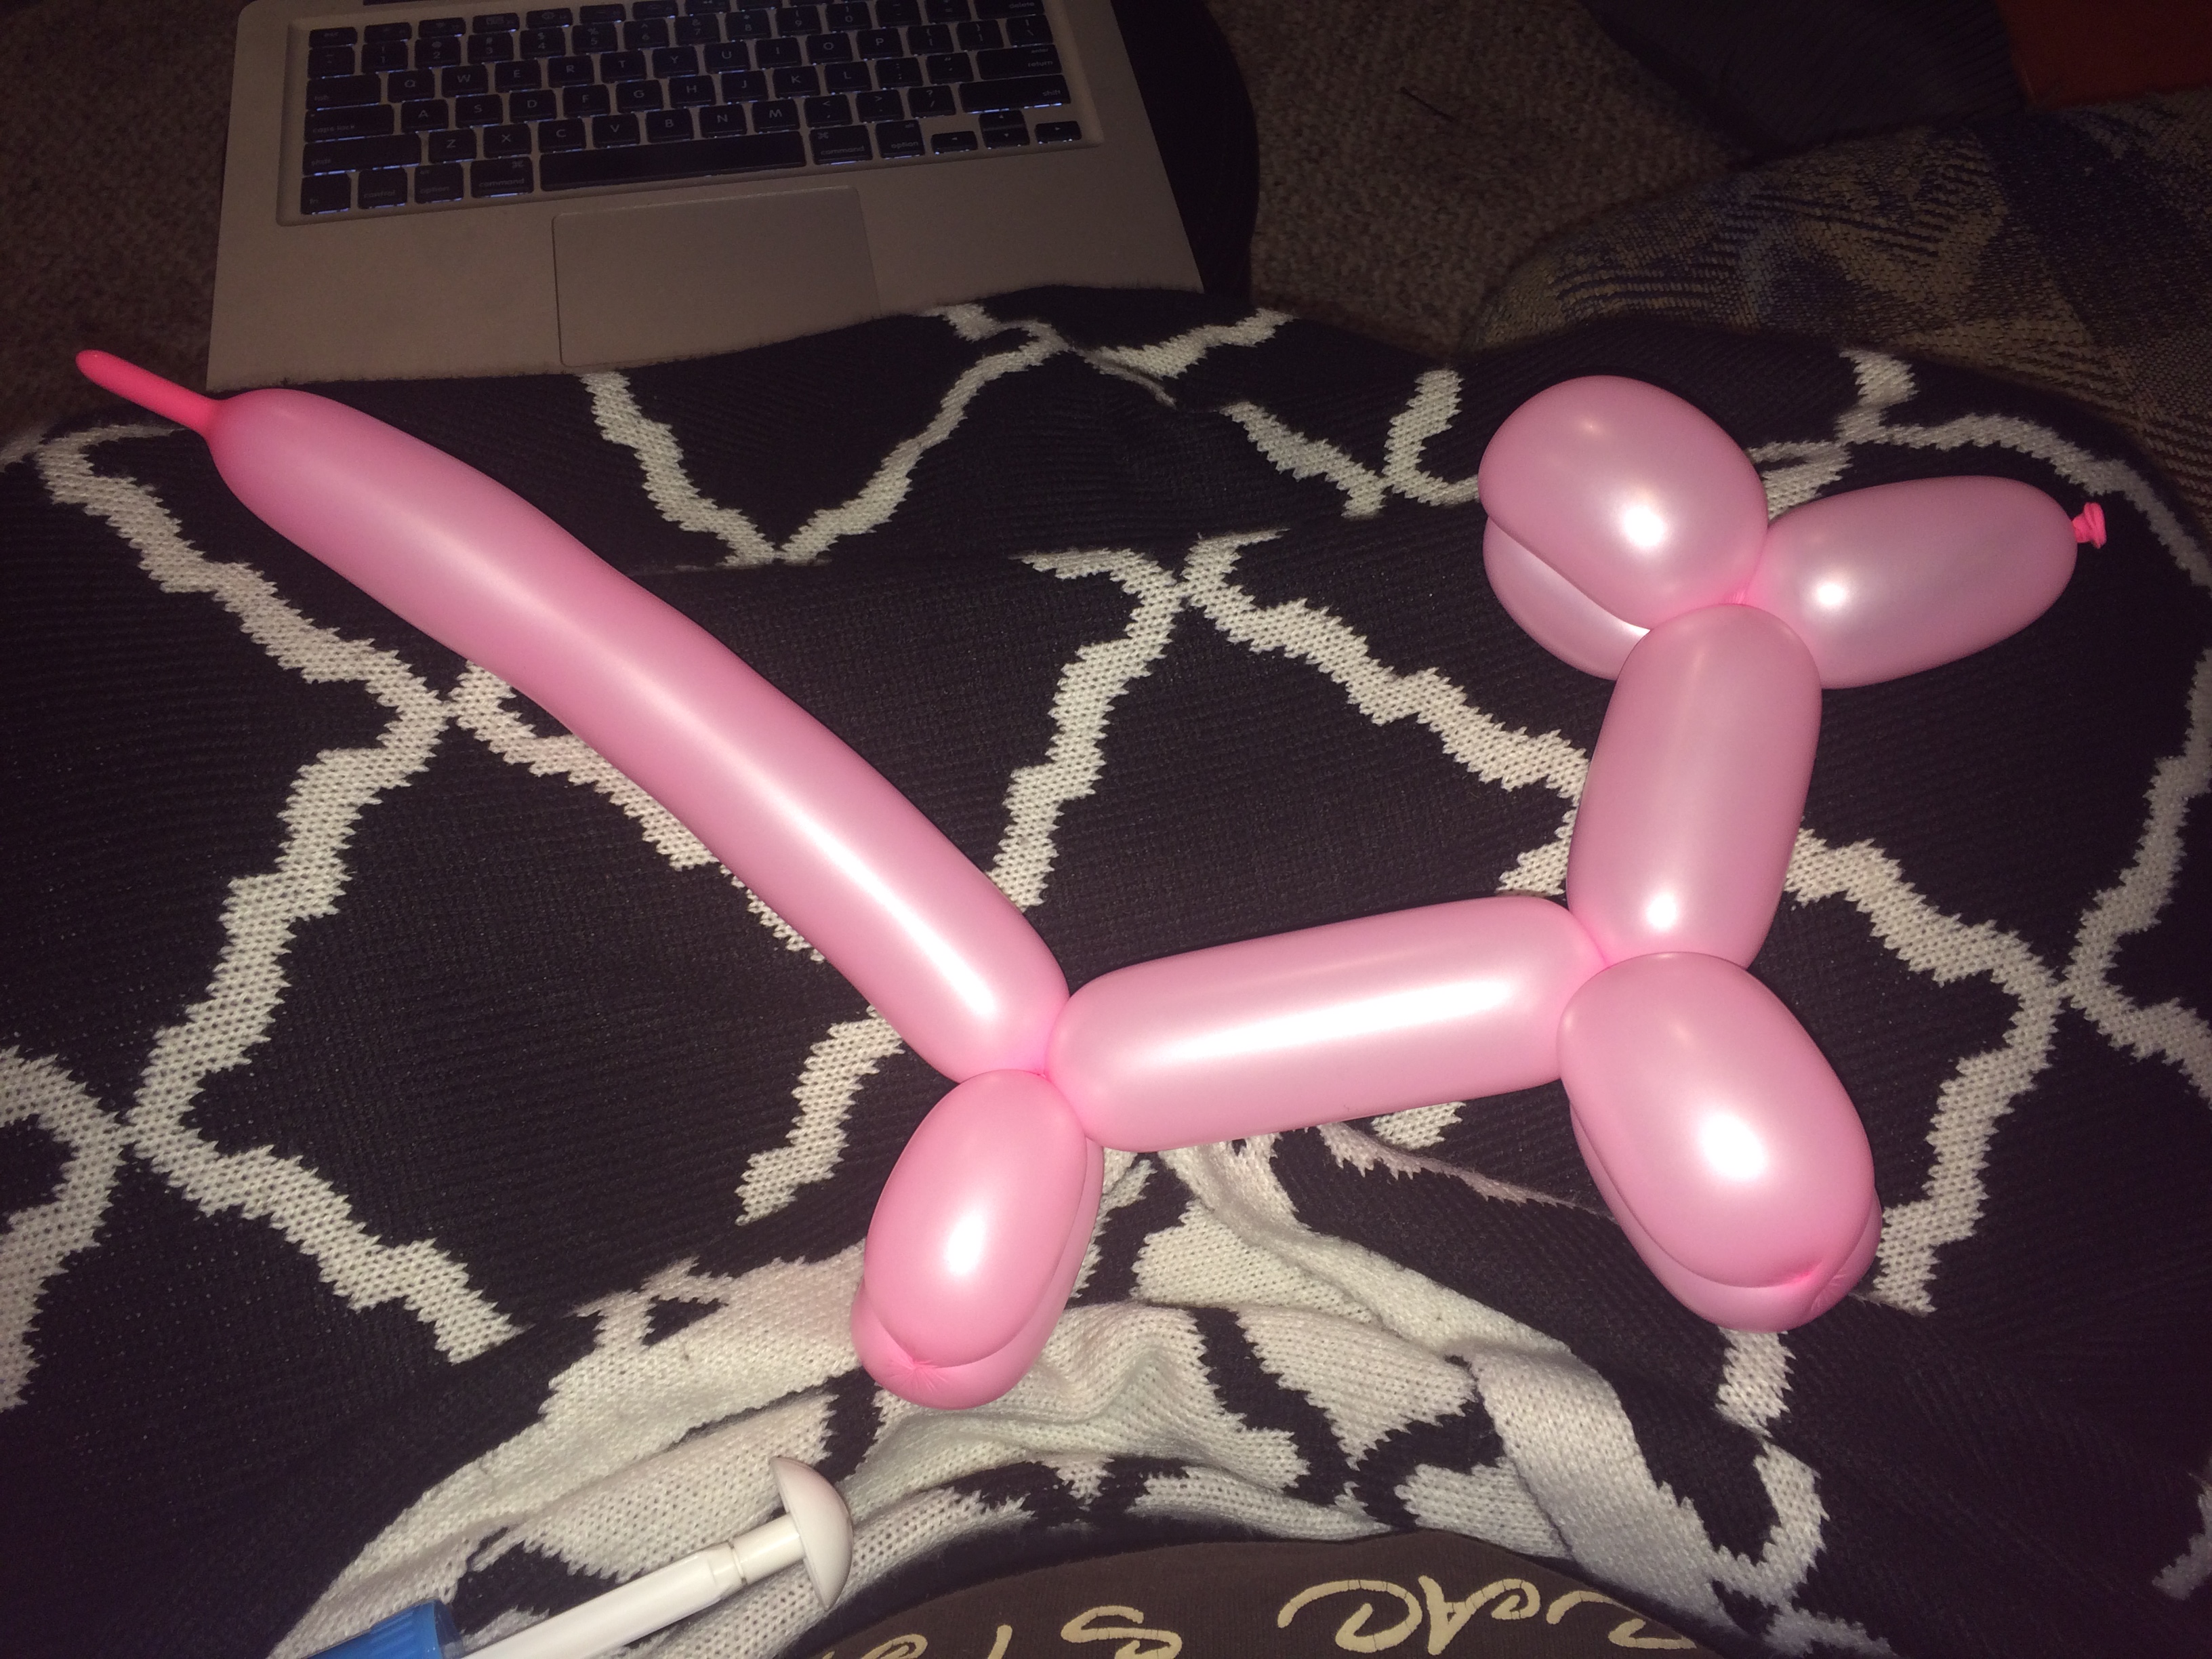
I stretched out my balloon enough before the fact that allowed it to be more flexible for the air and the twisting, I put more than enough air in the balloon but still left enough space for leeway and all my twists held and were perfect! In the pictures below, you can see that I blew up my balloon a lot more than my first one as after making the front of the dog I have more than enough room to make the body and end.
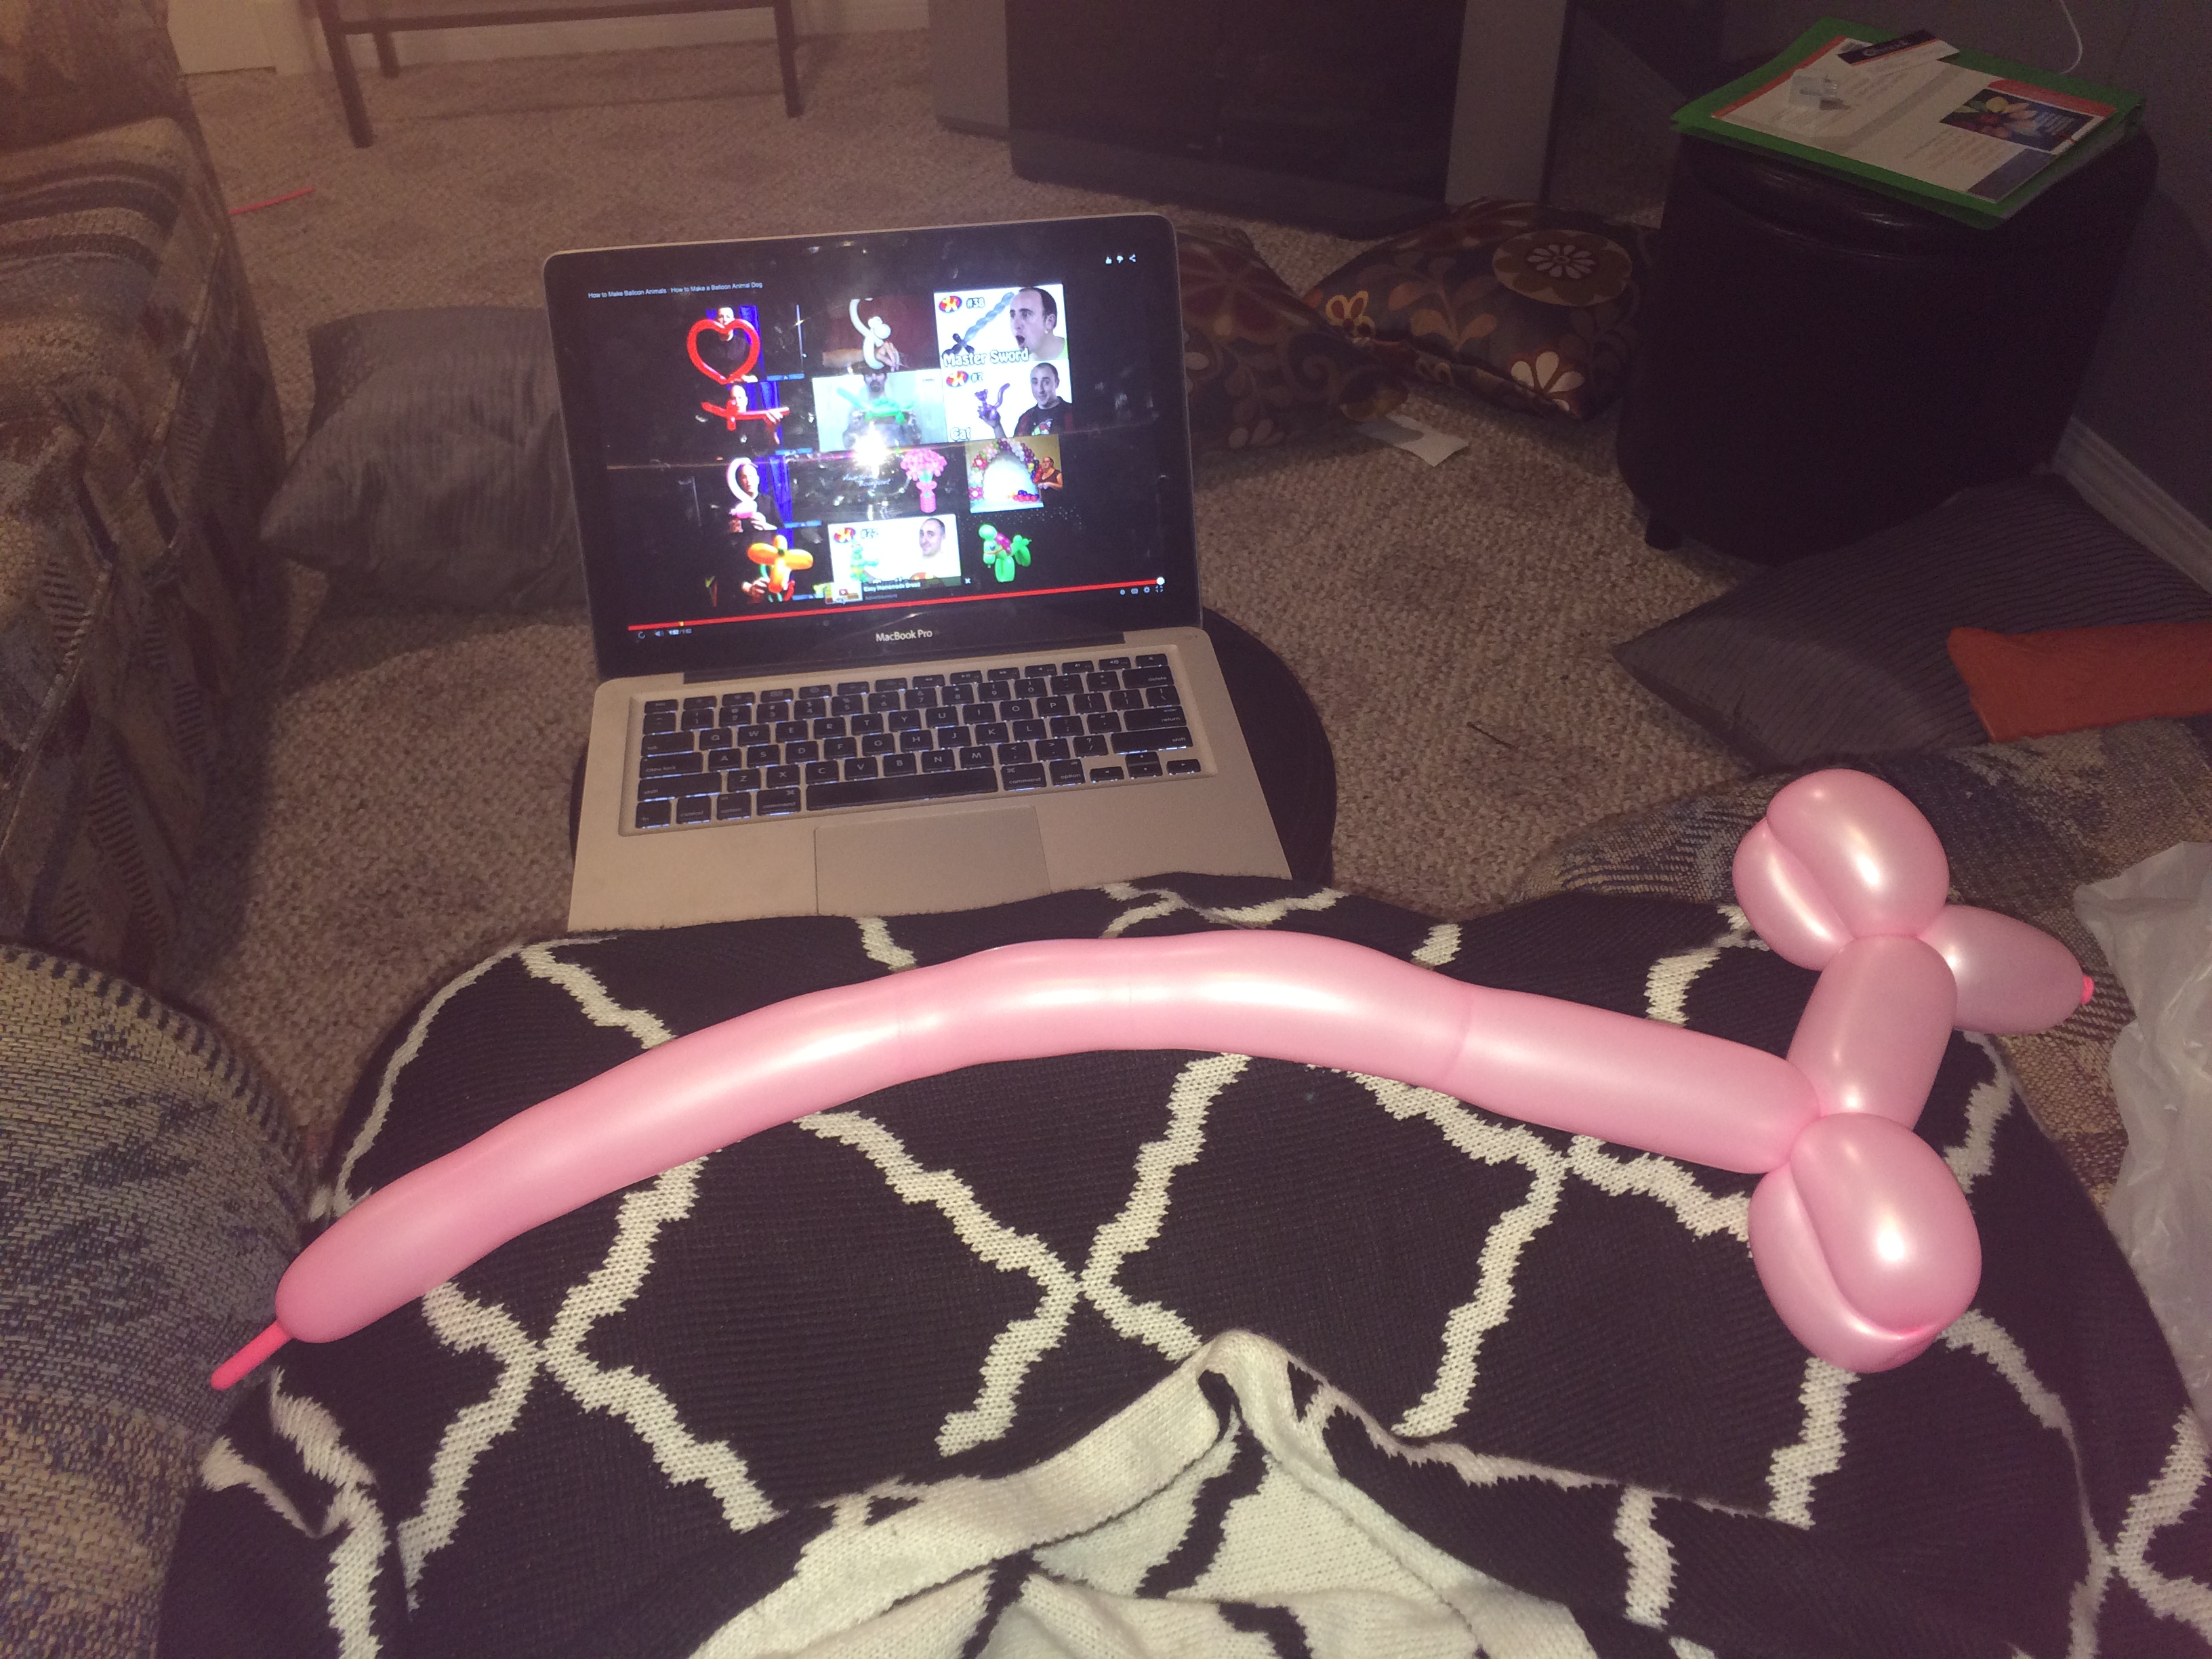

Here is what my final dog looked like! I named him Spot.
Please check out the video below that I made. It is a video of my creating another dog without using any instructions and just using my knowledge that I’ve learnt throughout this process. Let me know what you guys think and if you have any tips or ideas on what I should do next! Please watch until the very end, I promise it will be worth it. You’ll get a good laugh! Also, please don’t mind my facial expressions, I’m still in the process of getting used to the pressure while twisting and after getting popped on a few times it’s a little nerve racking ha ha.
That’s all for now folks, until next time!
Thanks for reading/watching.


Hillary this is awesome! Love the facial expressions 🙂
I think I spent more time watching your facial expressions then seeing the dog being made. BANGGGGGG Well done Missy Jones, phone noises
Good post. I learn one thing more difficult on completely different blogs everyday. It can at all times be stimulating to learn content material from other writers and observe a bit one thing from their store. I’d choose to make use of some with the content material on my weblog whether you don’t mind. Natually I’ll give you a hyperlink on your net blog. Thanks for sharing.