Miss. Hillary Strain

Look out! There’s a Dinosaur on the Loose!!!

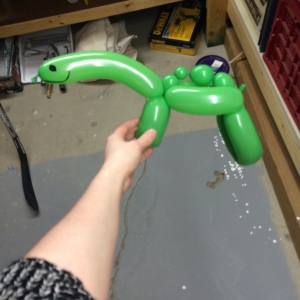
This Dinosaur balloon animal was by far one of the hardest animals that I have made thus far. There was a bunch of different twists, bubbles to hold where my hands weren’t big enough to keep in place, and things that wouldn’t stay in place when they were supposed to.

To learn this Dinosaur, I used the same website as I did to learn the swan, found here, I used a youtube video (below), which was very hard to understand/learn from as there was no talking was very fast paced and loud music playing, and I did a little improvising of my own to make it work when I didn’t understand how to do what the instructions said.

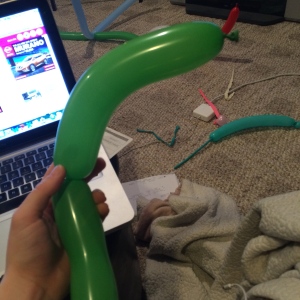
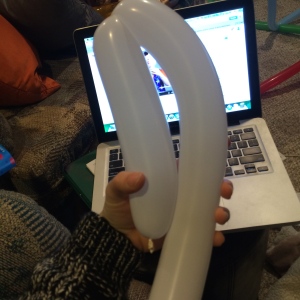
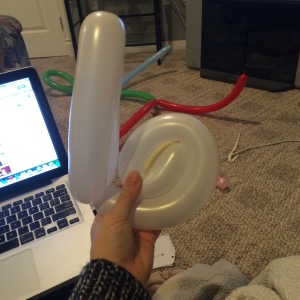
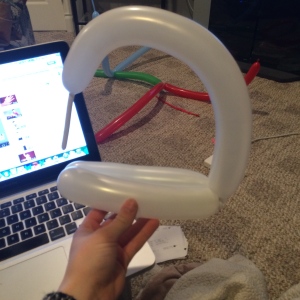
Step 1: Blow up the balloon and leave about a hands length of air in at the end.  The end of the balloon where the knot is, fold the balloon down so that is parallel against the stem to whatever length you desire. Squeeze the folds together for about a minute, this will again create a little bend/curve in your balloon which will be the head/neck of your dinosaur.  After you are finished squeezing and have the head/neck formed, create a twist at the bottom and and hold it in place.

IMG_3211_2

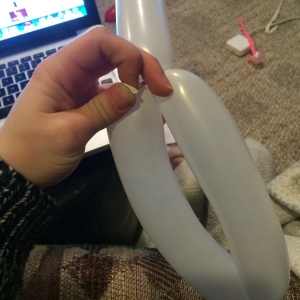
IMG_3212


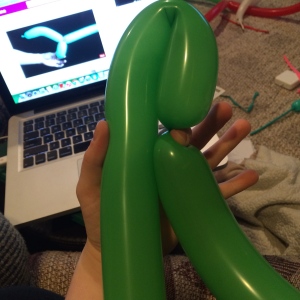
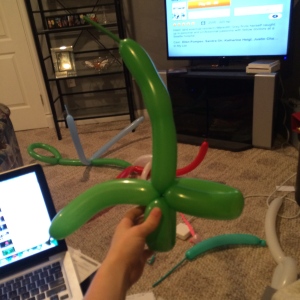
Step Two: Where you made the twist and are holding it in place, fold the balloon down so that it is parallel agains the stem once again, this time keep folding it down a little further so that you have about two inches of balloon above the twist (you are forming the legs).  Where the balloon is twisted from earlier, you are going to take that part of the balloon (where my finger is) and you are going to twist the balloons together (Just like we did when we created our dog).

IMG_3213 IMG_3215


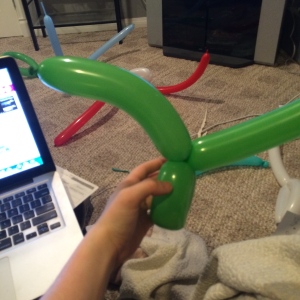
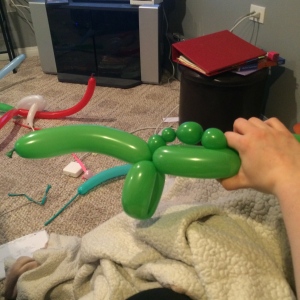
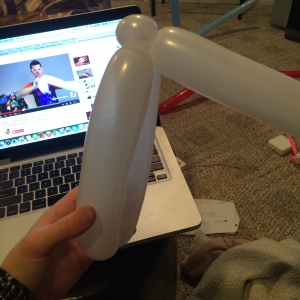
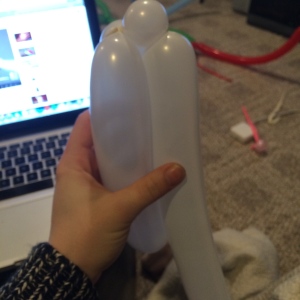
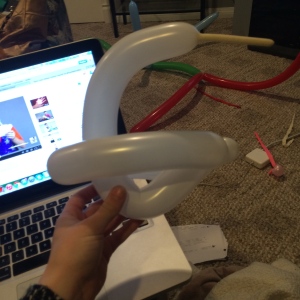
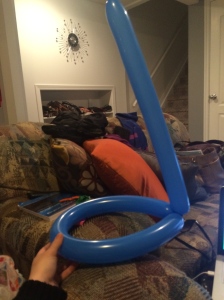
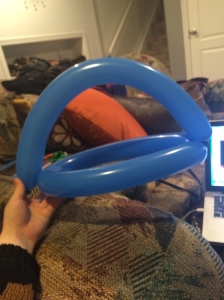
Step Three: To form the body, fold the balloon again towards the face/neck/feet.  Where the fold of the body meets up with the middle twist of the legs and neck, you are going to twist the body into that same twist and lock it into place (Your animal will look like the second picture).  From here, you will have the stem sticking straight up.

IMG_3216 IMG_3217_2


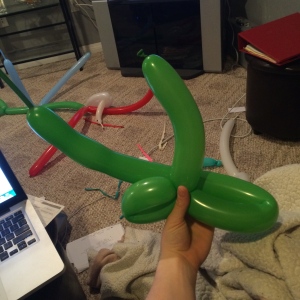
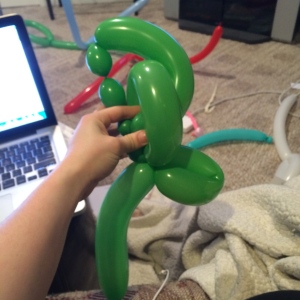
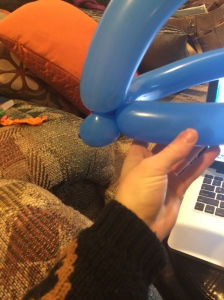
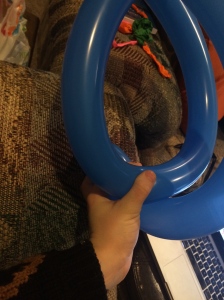
Step Four: This step you are going to create the “spikes”. This part is very tricky as the circles are not locked in place. You can make as many bubbles as you want, as long as it fits the length of the body that you formed.  To create this, you are just going to choose the size of bubble you want, make a twist, and then repeat.  After you are done creating your spikes, you have to fold the rest of the stem underneath the body and push it through the middle of the hole.

IMG_3218 IMG_3219


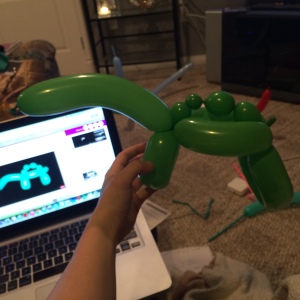
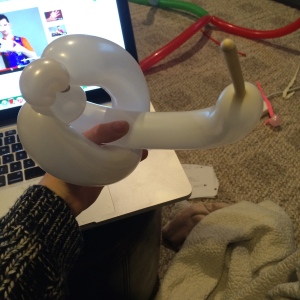
Step Five: Where the two meet, form another lock twist to make the second pair of legsIMG_3220_2
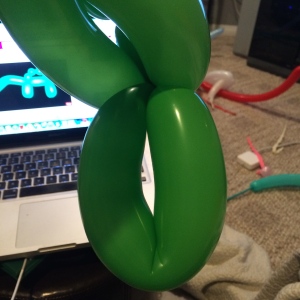


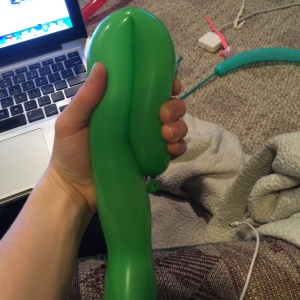
Step Six: Volia! Your Dinosaur, you can draw on some eyes and a smile and you’re good to go
IMG_3221 IMG_3222

So… What was my mark?

I recently read an article by the Edmonton Journal discussing a different type of grading method used by a high school teacher named Dave Martin. The article is entitled “No Percentage marks from a Red Deer math teacher” and is one that everyone should take the time to sit down and read. As, it’s quite interesting!

I started my journey of becoming a teacher 4 years ago and during the duration of my learning, each and every education class that I have taken has all directed back to the importance of assessment and constant feedback for our students. “It’s important to always be assessing your students and to make sure your marks are always up to date” they would say to us.  In the article, Dave Martin’s method of grading takes this to a whole new level. Martin has stopped giving his students marks on their assignments and exams, and instead uses comments encouraging students to fix their mistakes and retest their knowledge at a later time.  When I first read this, I was shocked and didn’t know what to think, as I grew up and am still used to knowing what my mark is and my success depends on the grade I get.  Now that I have taken some more advanced classes in my education career, I think that this is a great way to assess your students!  Lets face it,  students usually never pay attention to the feedback that you give to them on an assignment or test, they always just look for the grade written at the top of the page.  This is becoming a huge problem in my eyes because the students who are scoring lower aren’t really learning what they are suppose to be learning and they aren’t really getting anything from it.  They just look at the grade and feel bad about themselves and shove it in the back of their binder. Martin mentions, even the students receiving final grades of 70% technically haven’t mastered anything because they didn’t understand 30 percent of the material.

Dave Martin’s method of giving his students a grade only at the end of the school year carries many positives. Firstly, in order for students to gain an idea of how they’ve done on an assignment/exam, the comments are the only way to determine which areas they were successful and which areas need improvement.  This way, the students will be able to go in for extra help or concentrate on the area that they need help in to improve and be more successful next time. Secondly, by eliminating grades, you eliminate stress which can be very helpful in helping students succeed. The less amount of time students spend worrying about trying to get good grades, the more time they can spend making sure they actually understand the outcomes presented in the curriculum.
What do you all think?  Are you stuck on the number of the grade or are you wanting to get more feedback on how you can improve? What really is more important here?

Swan towel? No, It’s a Swan Balloon!

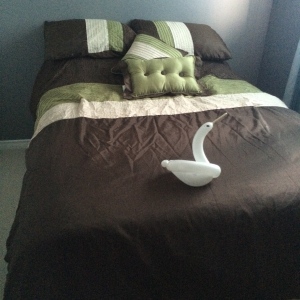
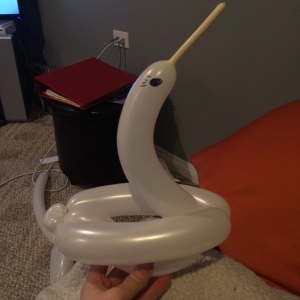
Imagine, you’re on a plane heading to Hawaii for a nice relaxing vacation. You finally land, arrived at your resort, walked into your hotel room and the first thing you see is a nice Swan creation on your bed. But, it’s not an ordinary swan creation made out of towels, it’s made out of a balloon! IMG_3207

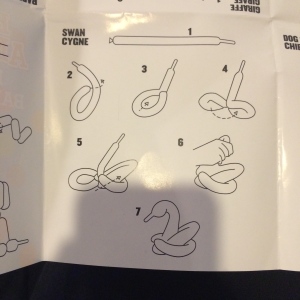
To create my swan, I used a website, which you can find by clicking here, and youtube video/page out of my booklet that came in my started kit, which are posted below.  Once again, the website helped me read and completely understand what I was supposed to be doing as the Youtube video was very fast paced, didn’t explain things well and expected that you knew everything in order to create this. Something that I didn’t know what to do that was required for this type of creation was an ear twist. An Ear Twist is another type of twist that is used to help keep the balloons locked into place.

IMG_3206_2

Step One: You had to blow up the balloon and leave about a fist length of room at the end to create the beak.
IMG_3195_2

Step Two: At the end of the balloon where the knot is.  Make a bubble about the size of two hands and do a basic twist to hold it in place, from here bend that bubble so it is parallel with the rest of the balloon and where the two meet twist the two together to make the two lock in place (just above the knot).  To ensure that the two bubbles are locked into place, take the “String” of the knot and push/pull it through the centre of the two bubbles.  
IMG_3196
IMG_3197_2

Step Three: Where you just locked the balloon circle in place, you need to make a little tiny (about an inch) “bubble” just underneath the lock. From here, you are going to fold the straight balloon down so it is parallel with the other balloons.

IMG_3199IMG_3198_2

Step Four: This is where the EAR TWIST. comes into place. As you can see in the second picture below where everything is lined up and the little bubble is on top, you are going to pull the little bubble up a little bit and twist it around ontop of it. This will secure/lock that little bubble into place on top of both of those parts of the balloon, one on each side of it.  You will now have a circle (looking like the base of the balloon hat we made earlier), a little bubble, and then a long stem.

IMG_3199

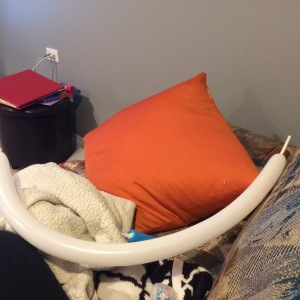
Step Five: Take the long stem and twirl/roll it up until it touches the little bubble. This will kind of look like a snail. You will hold it here and pinch it together for about a minute. What it is doing is making the balloon bend.  After that minute, you will let go and the long stem will now have a curve.
IMG_3200_2IMG_3201

Step Six: You are going to push the curve through the middle of the circle.  Make sure there is a little bit of a curve left underneath of the balloon. The rest of the curved part of the stem will be left standing up but unfortunately it is backwards.   

IMG_3202_2


Step Seven: The final step is to make sure that the swan’s neck/face is turned the right way so there is a final twist to do. In the first picture below, where my thumb is, you are going to do a basic twist. DO NOT twist it with the body as that will affect the shape. So just so a basic little twist to make it face the other way and Voila! You have your swan.  You can add eyes/eye lashes to give the animal some character.

IMG_3203IMG_3205_2

21 things..

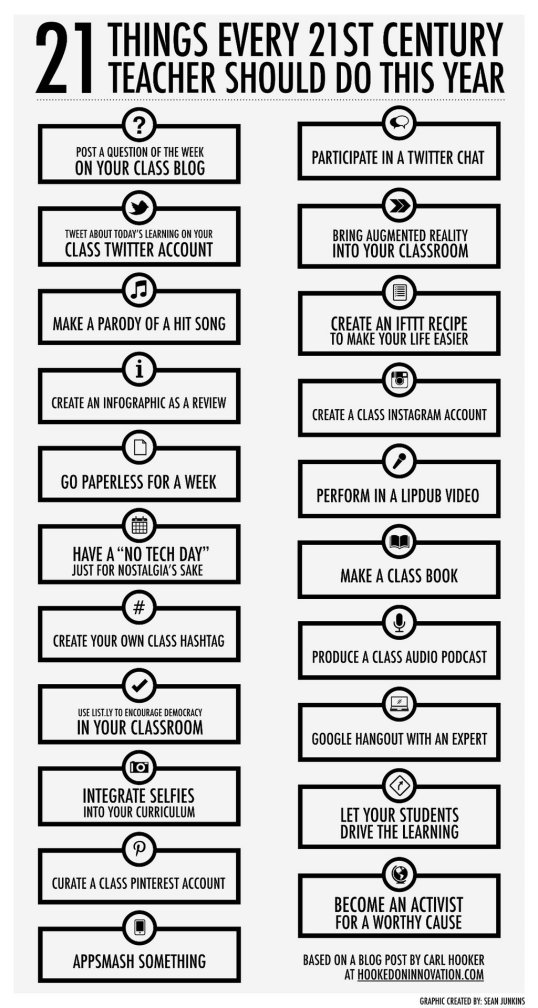
Today as I was looking through our ECMP 455 class community page on google and came across this interesting read that one of my classmates has posted.  Below is a chart featuring what its author called 21 things every 21st century teacher should do this year. This chart is created by Sean Junkins based on a blog post by Carl Hooker.

As I was reading through it, I was reflecting on my schooling experience and realizing that it is nothing close to what I have experienced.  I grew up in a traditional classroom where it was direct lecture and no fun.  Looking at these 21 things teachers should do make me realize how much teaching and learning is evolving every year and becoming more technology, fun, discovery and online directed, which I think is great!

It’s good for use to keep in mind as teachers that we need to get the students to relate to our lessons as much as we can. Since our society is becoming more technology based and more focused towards what’s happening on Social Media, we should direct our lessons so that it incorporates that somehow and relates to their way of living.  What do you all think?

Make sure you read Carl’s original article for more details on each of the 21 ideas featured in the visual below.


mzfea8h3


What are the chances..

Hi All!

So I came across this video today, it’s rather long but it’s worth the watch! It is one of the most honest and reality checking videos I have ever seen, because the narrator made some very valid and good points about the topic. Humans are so attached to technology and really they pretty much rely on it now a days. However, sometimes we also forget the possibilities and opportunities technology can potentially give us. In our ECMP 455 class, we get reminded constantly about the potential of technology and how it can connect us in many ways to help us with our learning.

The narrator started the following quote in the film and it seemed quite appropriate considering what I’ve been learning in ECMP 455. “The internet gives us the power to share a message to millions around the world. Therefore, when we still can, lets use our screens to bring us closer together rather than farther apart.” This makes me think about how we can use the internet to work and learn together now a days unlike others have never had the opportunity to before internet was invented.

The narrator also mentions, “Does technology show us how smart we really are? Or does it show how lazy we have become?”  It does seem like a lot of people are taking the easy way out and googling things rather than using problem solving to accomplish things, but who knows, that could just be my opinion. Thoughts?


Made a new friend..

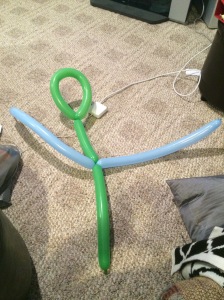
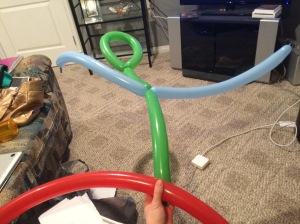
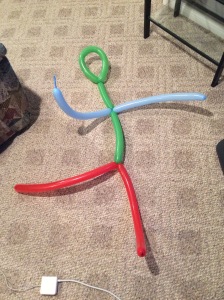
This week, I deiced to do something a little different for my learning project! I decided to do my own “inquiry” project and apply what I have learnt thus far to create my own balloon stick man!  I didn’t do any research or look at any videos to create this. I just did it all on my own, using my imagination and knowledge that I have learnt thus far.  I used 3 balloons to create this person and I just used the basic “Twist and Lock” technique to hold them in place.

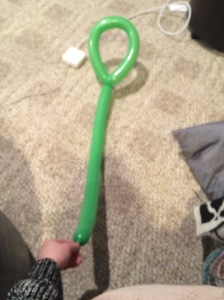
Step 1: Create the Head/Body (green balloon).   To do this, I blew up the balloon almost all the way (I left above an inch of room at the end of the balloon to allow the air to move there after the twist). I took the end of the balloon, where the knot is, and folded it to form a circle towards the body. Where the knot and the body met, I used the “string” of the knot to twist the two parts together to form the head and to hold it in place. There was a little bit of room left at the bottom of the ballon, this ended up being perfect as it’s what I used to twist on the legs!
IMG_3179

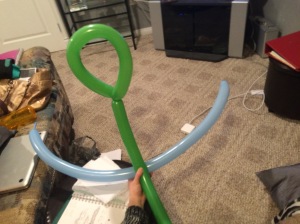
Step 2: Create the arms (blue balloon).  I blew up the blue balloon and left about a hands length of room at the end of it to allow air to be pushed to after the twist.  I realize now that that is way too much room to leave, I could have left about a half an inch and would have been good.  So after I blew up the balloon, I placed it underneath the body where I felt was the right place for the arms to be (about 1/4 of the way down) and centred the body in the middle of the blue balloon so it was proportioned. I then used the basic twist again to twist the two together.
IMG_3182IMG_3183

Step 3: Create the legs (red balloon). Since I learned from my mistake with the arms, I decided to blow up the red balloon all the way for the legs to be successful/look good.  So once again, just like the arms, I lined up the middle of the blue balloon so that the legs would be even at the end little tip that was left in the green balloon. Once I lined them up, I then used the basic twist again to twist the two together. This finished the person and it looks great!!

IMG_3184IMG_3185


So my first ever solo balloon creation was a success! Yes, there were some little mistakes and bumps in the creation but I feel like it turned out alright! What do you think??


Internship IPP

Here is a copy of my Final Internship Internship Placement Profile (IPP).

Feel free to take a look and post any questions or opinions that you may have on my evaluation.

Internship IPP

3.14159 aka Pi

In most of my educational math classes, at some point we have talked about the importance of Pi and have also watched the following video.

I have used Pi a lot in math classes, we have talked about Pi a lot in our math classes and well, really, everyone knows what Pi is.  It wasn’t until I watched the video above that I realized what Pi really entails.  The number Pi, as we all know, goes on and on forever, well for quite some time. The video explains that you can find any number in Pi, like your birthday, social insurance number, name or any number combination that you can think of.

If you don’t believe me, try it out yourself at the link below!  All you have to do is click  control f or command f if you have a mac, a little search bar will pop up and then type in any combination and it will appear!

https://stuff.mit.edu/afs/sipb/contrib/pi/pi-billion.txt

Let me know what you think of this? Were there any number combinations that you couldn’t find or wouldn’t appear?

Hat days are the best days

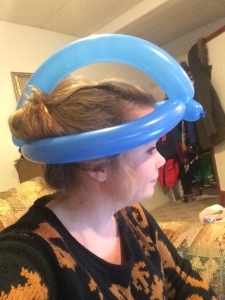
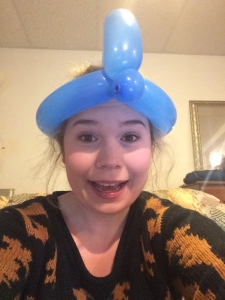
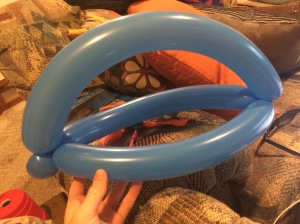
Who isn’t a big fan of hats?! They are perfect for bad hair days, for greasy hair days and really now they are just a part of  a persons’ style! So finally, I decided that I would try to attempt to make a hat. This has always seemed challenging to me so I decided to do the Basic Balloon Helmet Hat.  This only uses one balloon and was actually done in three easy steps!

I used the following Youtube video to help me create the hat and I also used this balloon making website that had step by step instructions along with pictures that helped me learn how to do it as well.

There were 6 steps that I had to follow:

1) Blow the balloon up all the way – You can leave a little bit of space at the end if you like but it is not  needed.

2) Take the balloon and size it to your head. Just wrap the balloon around your head and make you mark where the two ends touch because that’s where you’ll make your first twist.

IMG_3128

3) Where you landmarked your measurement, twist the two ends together, this will form a little bubble at one side of the circle.  That will be the base for your hat. At this point you will have a circle (where your head goes) and a long stem looking like thing coming out of it.

IMG_3129

4) Take the long stem and arch it over to the opposite side of the circle.

IMG_3130_2

5) Where the stem and the side meet, create a bubble at the end of the stem and then fold it underneath the the side of your circle and start folding it upwards, afterwards twist the two together.

IMG_3132_2 IMG_3131 IMG_3133_2

6) Voila! Your very own hat.

IMG_3135 IMG_3134_2

Twitter Overload? Where are you?

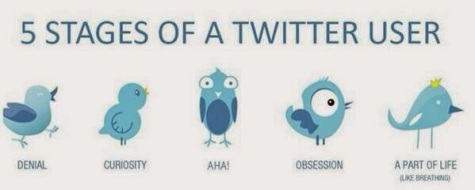
Lately I have been engaging a lot on twitter.  Through tweeting to others, participating in twitter chats and just using it as a resource for lesson plans and different projects that I am working on in the semester.  During one of the last twitter chats, #saskedchat, the image below was posted by one of the participants.  This made me think about what stage am I at now and where am I going to grow to be at?

BkkgVRBIAAAOw4E

I clearly remember going through the denial stage.  It was the time where everyone was starting to sign up for twitter and I remember thinking that I would never be apart of the jones.  I remember thinking it was just another type of social media that I was going to get addicted to and I don’t want to be apart of it.

The curiosity stage began when I entered University. I remember a lot of my profs talking about it during my first two years and them saying how useful it will be when we teach and become professionals. That’s when my curiosity began. I created a twitter and I started following people and using it for beneficial purposes. I was very into it for a few months and then I never got any responses to my tweets, new followers or any insights so I blew it off again. I was over it.

Right now I am in the AHA! stage.  I am now learning how to use twitter properly and how to gain followers and build my PLN. I am starting to participate in twitter chats, I am communicating more with other educators and sharing my resources as well. I am starting to get really engaged in this thing called twitter and I am loving the exploration and opportunities that are arising from it.

In a way I know I can see myself getting addicted/obsessed with this app and after awhile it becoming apart of me and my learning process as an educator.

What are all of you at in your twitter stage? What are your benefits? Any suggestions on how to grow or have more of a twitter life?

Let me know!


Post Navigation